Overview
Turn the Gears is a hands-on exhibit game our five-person team designed for a children's museum Art Lab. Players guide a ball from a slot at the top of the board to a lit exit slot at the bottom by twisting rows of paddles to build a path before the ball is released — mirroring the engineering design process: plan first, then execute. Whether the ball lands or not, every player earns a station key to continue through the museum.
How you play
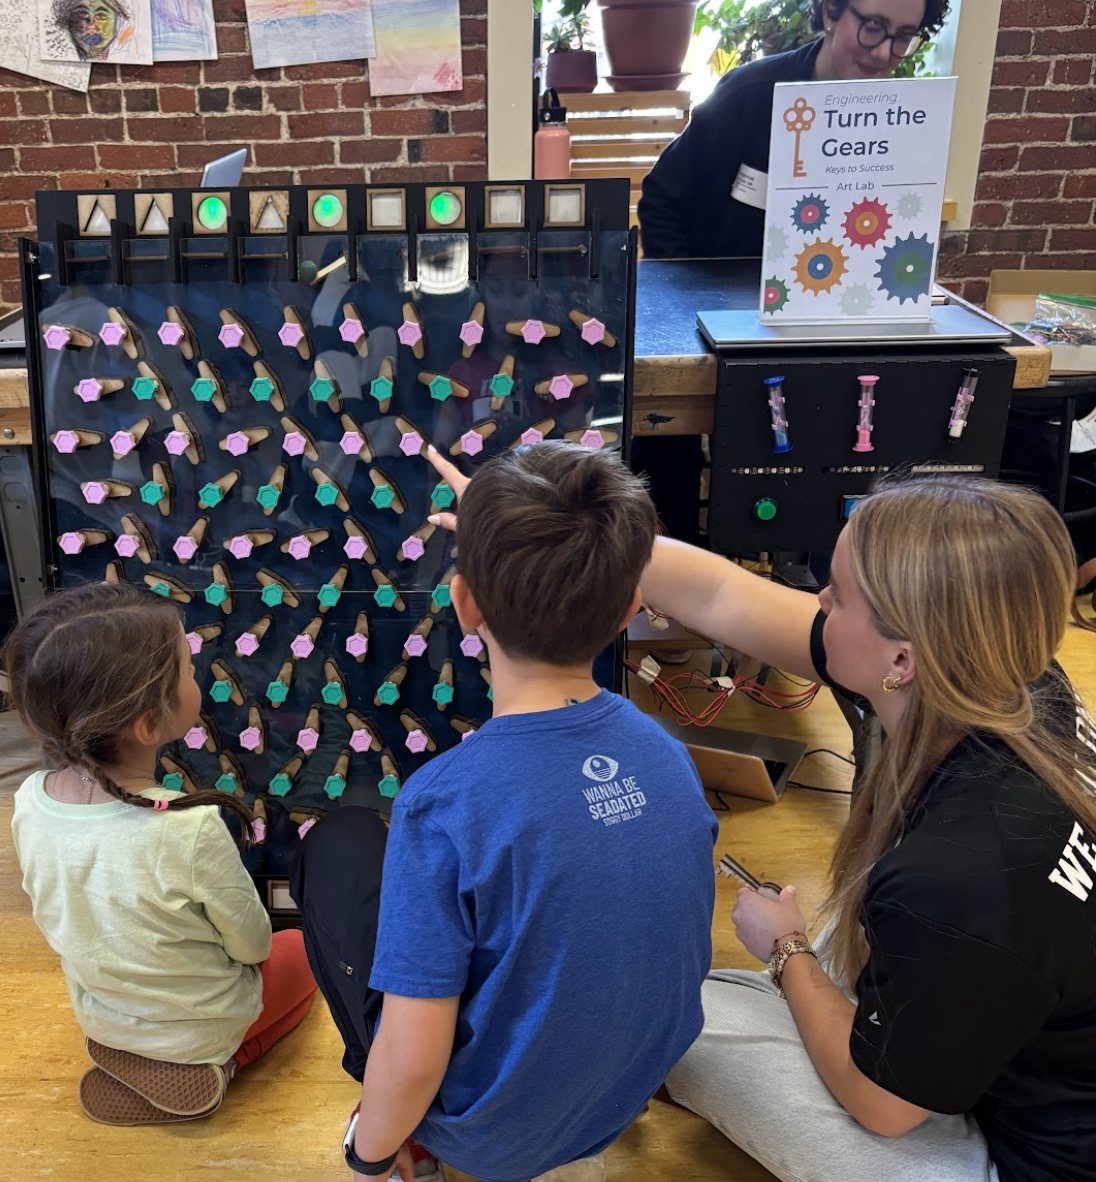
A player picks a difficulty, which lights up three possible entry slots and one to three possible exits. A rotating hourglass marks the time they have to arrange the paddles by hand. When time's up, a servo releases the ball — and if it reaches a lit exit, an RGB strip lights up to celebrate. The twist-it-yourself paddles make the physics intuitive and satisfying across a wide range of ages.
- Easy
- Exit any of 3 slots · 3 minutes
- Medium
- Exit 2 set slots · 2 minutes
- Hard
- Exit 1 set slot · 1 minute
We deliberately gave more time than an engineering student would need — testing with real kids showed younger players needed room to learn the mechanic and work within their fine-motor skills.
How it's built
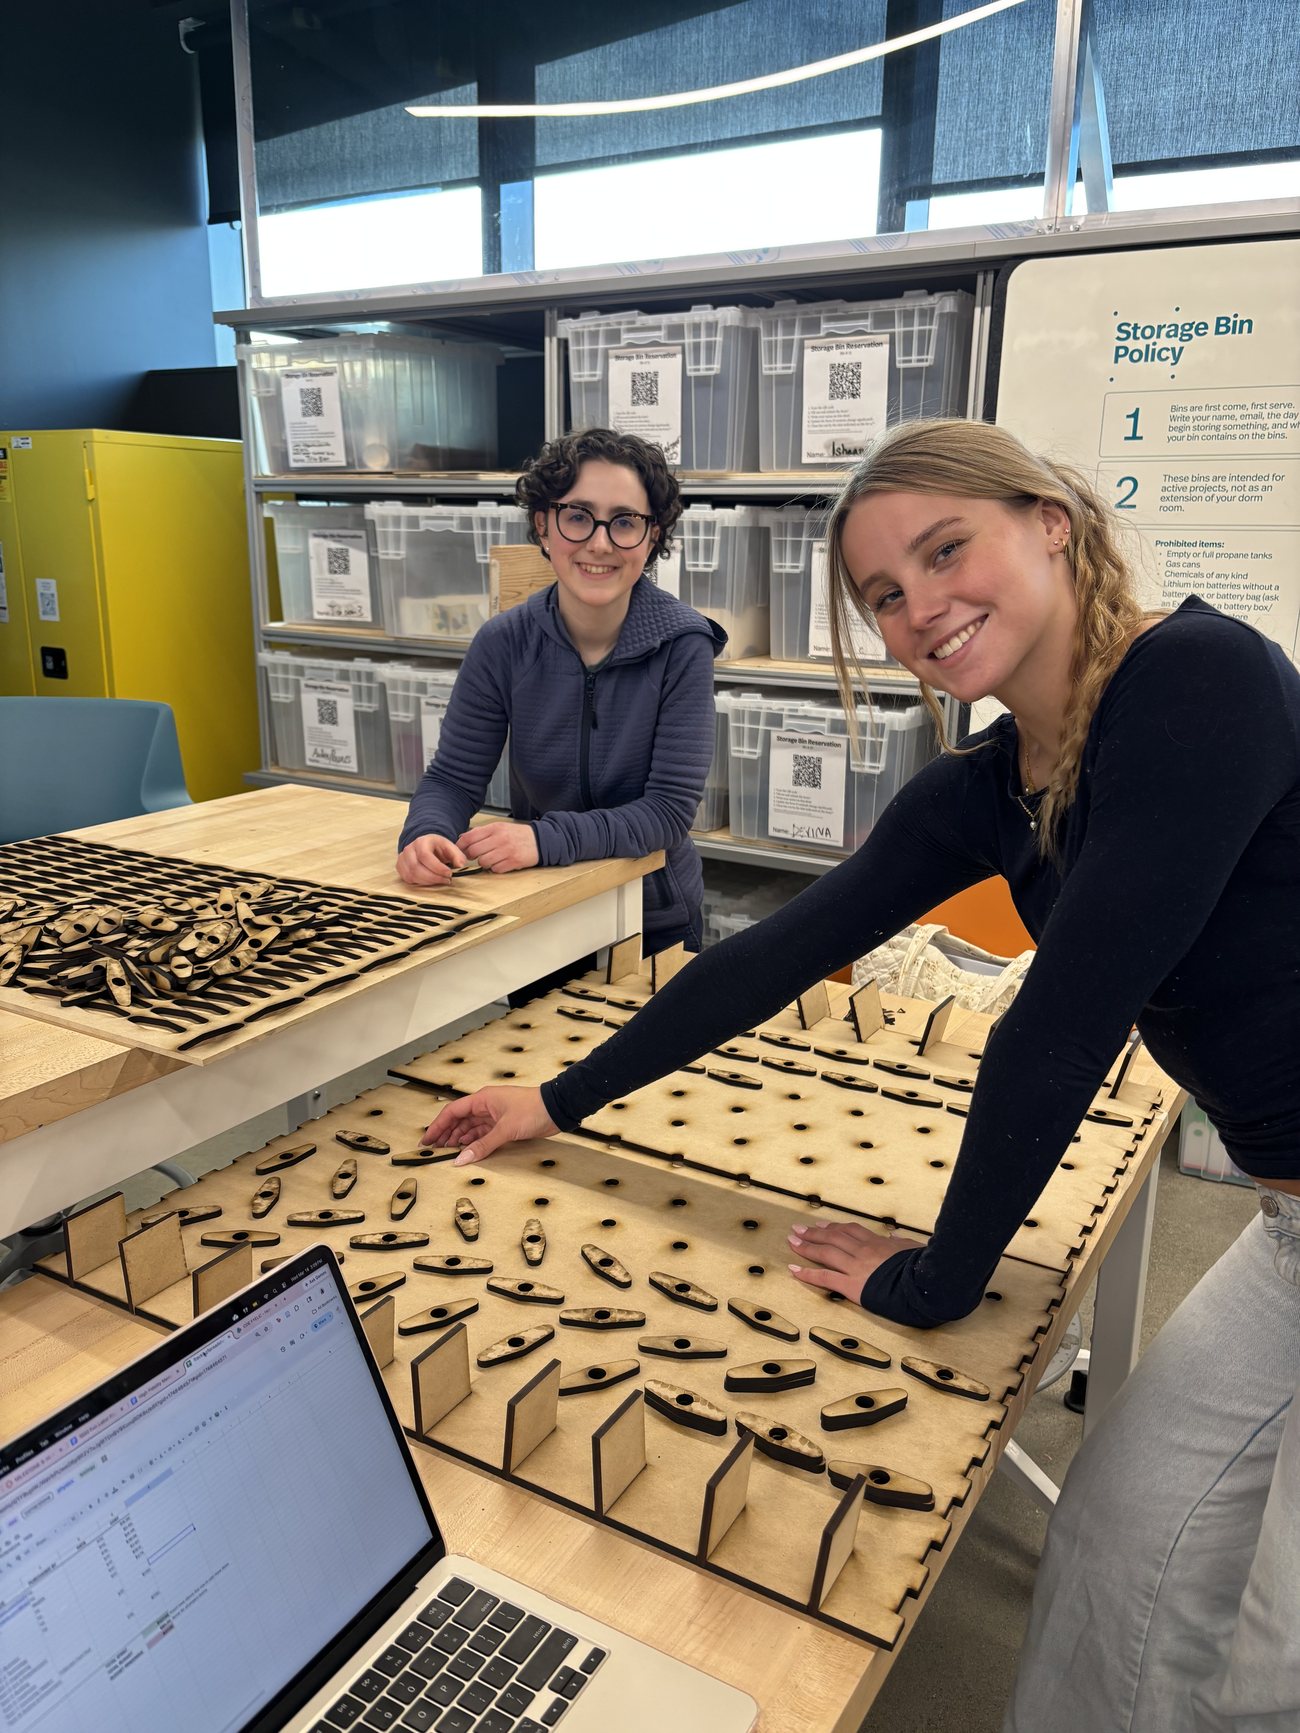
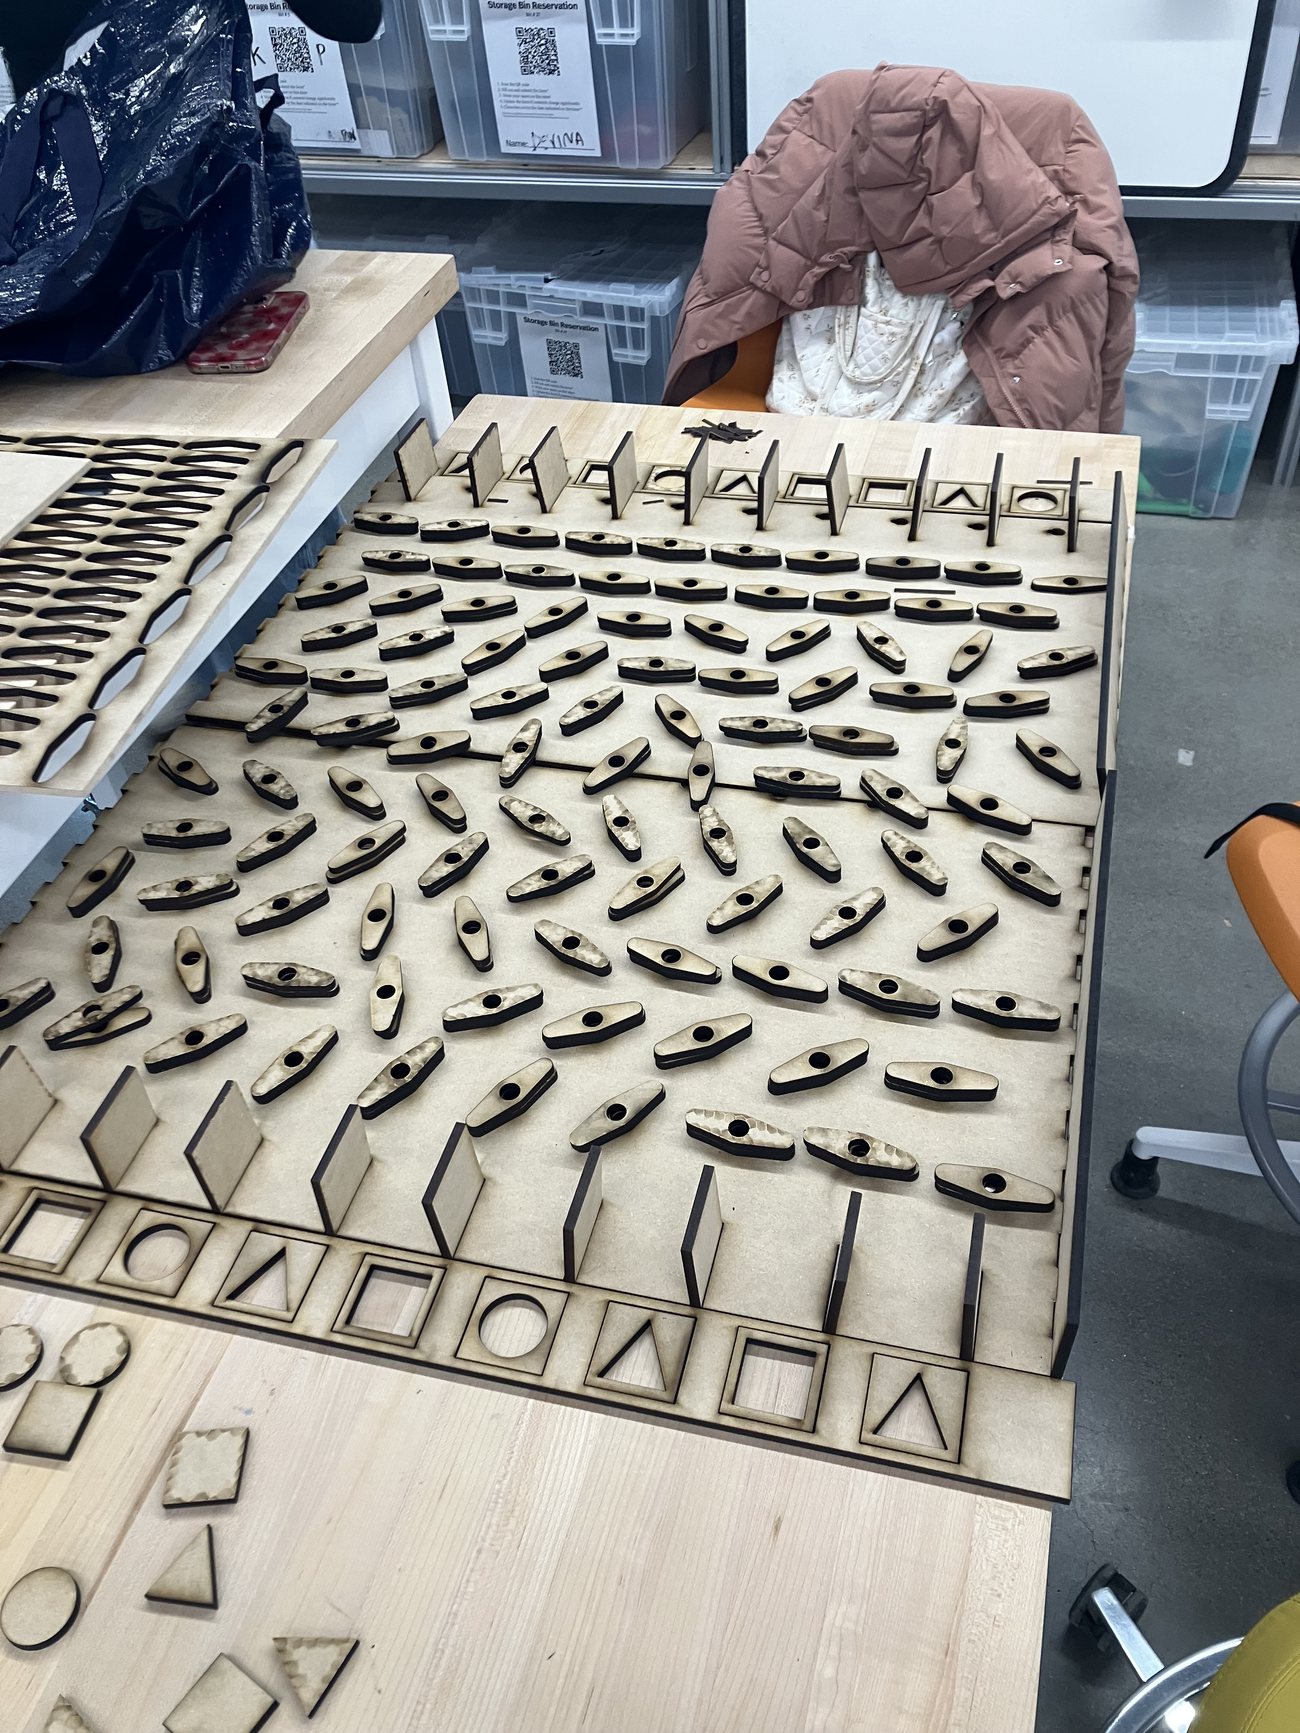
The design went through three prototypes. A ~15-inch cardboard low-fidelity model proved out the core mechanic — and revealed a problem: a square grid of paddles let the ball fall straight down without being redirected. The 30×35-inch high-fidelity build fixed that by staggering the paddles into a grid of equilateral triangles, so the ball is always turned by a paddle on its way down.
The final dry-run model added a clear acrylic front so players can watch the ball's path, a navy-painted MDF backboard, and custom 3D-printed lilac-and-teal knobs on every paddle. The board, paddles, and enclosure were designed in AutoCAD and laser-cut from quarter-inch MDF; the knobs and hourglass mounts were modeled in SolidWorks and 3D-printed.
Under the hood
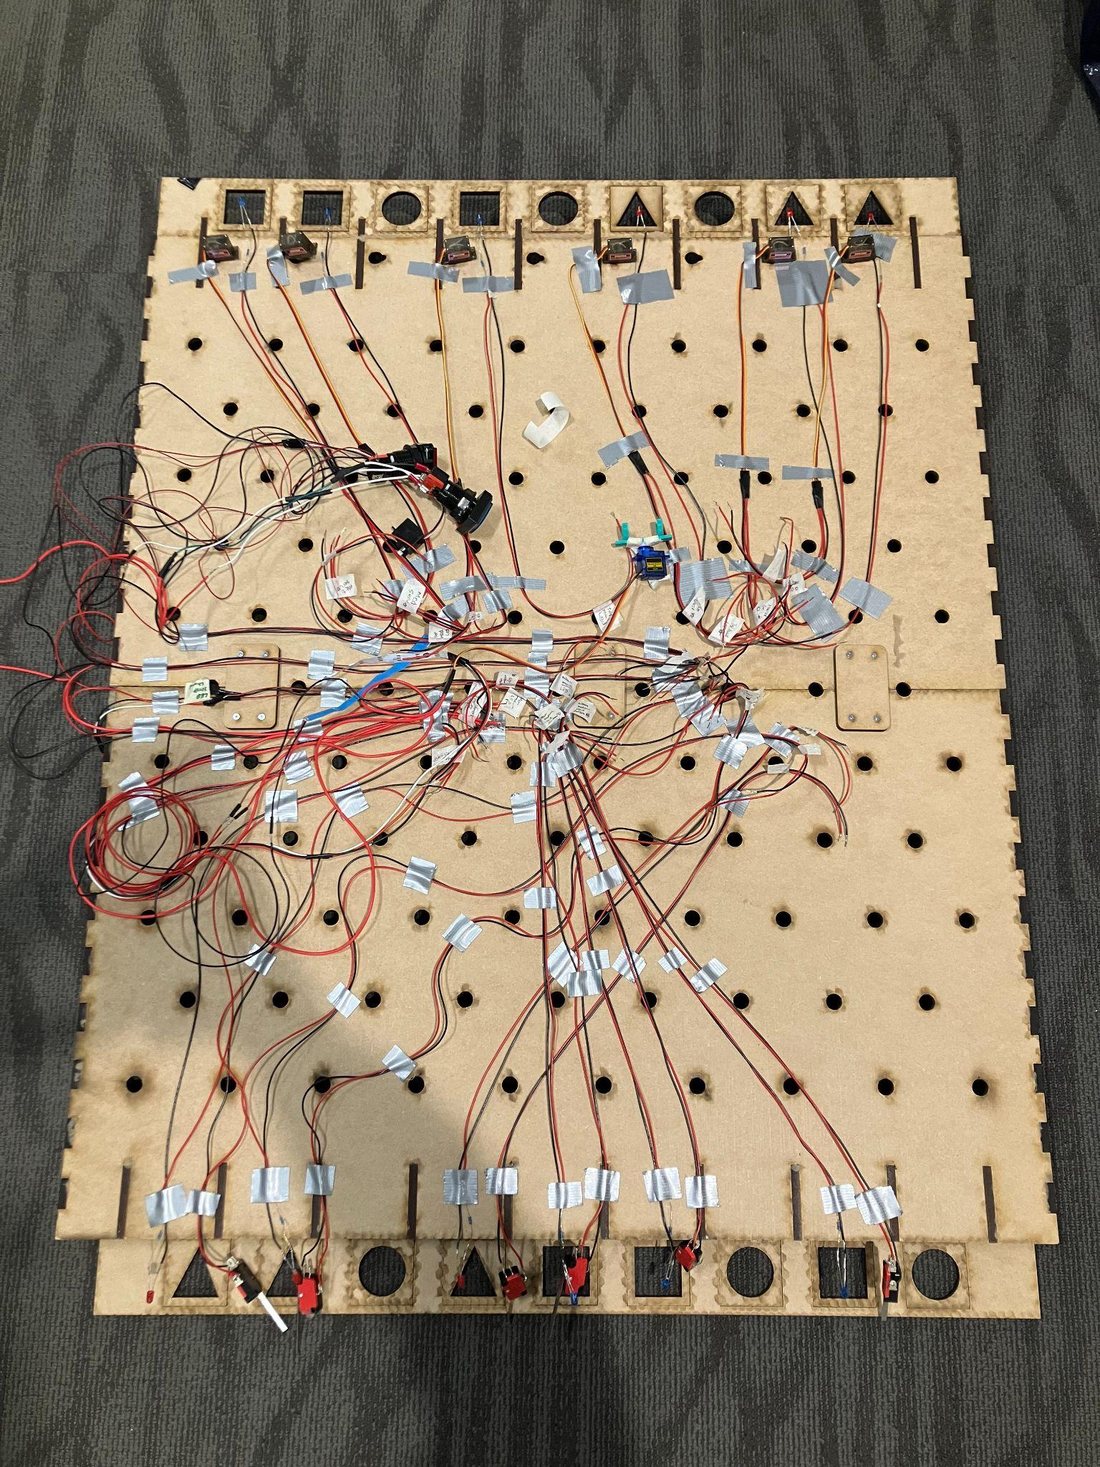
Each difficulty level runs on its own Raspberry Pi Pico microcontroller, mounted centrally with soldered, extended wiring that reaches across the full board. Per level: six LEDs mark the lit entry and exit slots, three 180° servos release the ball, three limit switches sense where it lands, a 360° servo flips the hourglass timer, an arcade button starts the round, and an RGB strip celebrates a win.
We programmed the Picos in MicroPython. A simplified excerpt from the hard-level round:
# HARD level — one lit exit, 60-second timer
set_servo_speed(forward_duty)      # flip the hourglass
time.sleep(60)                     # player's time to build a path

# release the ball, then watch the exits
for servo in (servo_1, servo_2, servo_3):
    servo.duty_u16(half_duty)

if rand_num_1 == 1 and response_1.value() == 1:   # ball hit the lit exit
    Light_Strip_On()               # celebrate the win
The reward keys
Every station also handed out a prize: small laser-cut plywood keys on keychains — roughly 60 per group across eight groups — so children collected a key at each exhibit as they made their way through the museum.
Plan first, then execute — the same design process we used to build it.
The team
A five-person team project, built with Ivy Lu, Toby Waller, Taylor Janson, and Maddie Carey.